Deploy DJango in Digital Ocean

Mahmud
Published Date: Sept. 22, 2024
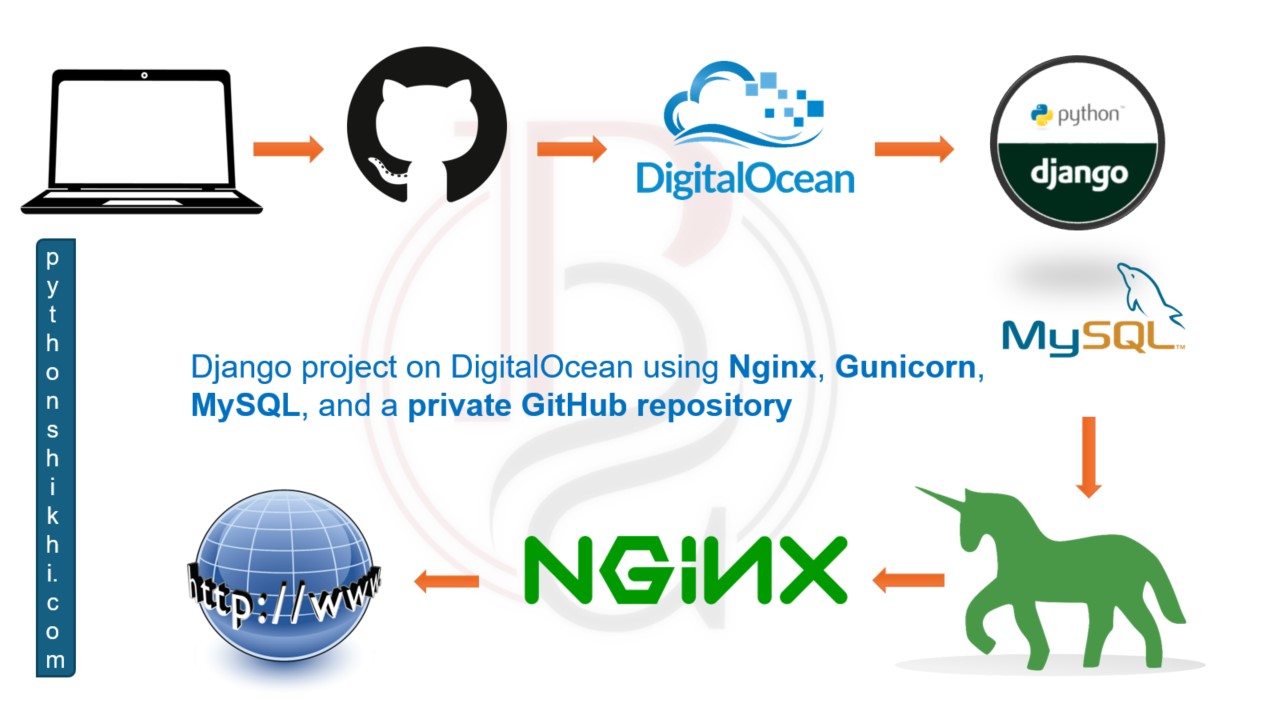
Deploying a Django project on DigitalOcean using **Nginx**, **Gunicorn**, and **MySQL** via a **private GitHub repo** involves several steps. Below is a step-by-step guide:
### 1. **Create a DigitalOcean Droplet**
- Sign in to your [DigitalOcean account](https://www.digitalocean.com/).
- Create a new droplet, choose **Ubuntu 22.04** as the operating system.
- Select the size of the droplet and region based on your requirements.
- Set up SSH keys for secure access, or use a root password.
### 2. **Access Droplet via SSH**
- Once your droplet is created, connect via SSH from your terminal:
```bash
ssh root@your_droplet_ip
```
### 3. **Install Required Packages**
Update the package list and install essential packages:
```bash
sudo apt update
sudo apt upgrade -y
sudo apt install python3-pip python3-dev libpq-dev nginx curl git
```
### 4. **Set Up MySQL**
Install MySQL and secure the installation:
```bash
sudo apt install mysql-server
sudo mysql_secure_installation
```
Create a MySQL database and user for Django:
```bash
mysql -u root -p
```
Within the MySQL prompt:
```sql
CREATE DATABASE your_database_name;
CREATE USER 'your_user'@'localhost' IDENTIFIED BY 'your_password';
GRANT ALL PRIVILEGES ON your_database_name.* TO 'your_user'@'localhost';
FLUSH PRIVILEGES;
EXIT;
```
### 5. **Clone Your Private GitHub Repo**
To access your private GitHub repo, you will need an SSH key:
- On your local machine (not on the droplet), generate an SSH key (if you don’t have one):
```bash
ssh-keygen -t rsa -b 4096 -C "your_email@example.com"
```
- Add the SSH key to your GitHub account. Copy your SSH public key:
```bash
cat ~/.ssh/id_rsa.pub
```
Then, add it to [GitHub SSH keys](https://github.com/settings/keys).
- On the DigitalOcean droplet, clone your private GitHub repo:
```bash
git clone git@github.com:yourusername/your-repo.git
cd your-repo
```
### 6. **Set Up a Virtual Environment**
Inside your project directory, create and activate a Python virtual environment:
```bash
sudo apt install python3-venv
python3 -m venv myvenv
source myvenv/bin/activate
```
### 7. **Install Dependencies**
With the virtual environment activated, install the necessary dependencies:
```bash
pip install -r requirements.txt
```
Make sure you have the following dependencies in your `requirements.txt`:
- `Django`
- `gunicorn`
- `mysqlclient` (for MySQL)
### 8. **Configure Django Settings for MySQL**
Edit the `DATABASES` settings in your `settings.py` to use MySQL:
```python
DATABASES = {
'default': {
'ENGINE': 'django.db.backends.mysql',
'NAME': 'your_database_name',
'USER': 'your_user',
'PASSWORD': 'your_password',
'HOST': 'localhost',
'PORT': '3306',
}
}
```
Then, run migrations to set up the database:
```bash
python manage.py migrate
```
### 9. **Collect Static Files**
Run the `collectstatic` command to gather static files for Nginx:
```bash
python manage.py collectstatic
```
### 10. **Set Up Gunicorn**
Create a Gunicorn systemd service file to manage Gunicorn:
```bash
sudo nano /etc/systemd/system/gunicorn.service
```
Paste the following configuration into the file:
```ini
[Unit]
Description=gunicorn daemon for your Django project
After=network.target
[Service]
User=root
Group=www-data
WorkingDirectory=/home/almahmud/your-repo
ExecStart=/home/almahmud/your-repo/myvenv/bin/gunicorn --workers 3 --bind unix:/home/almahmud/your-repo/gunicorn.sock your_project.wsgi:application
[Install]
WantedBy=multi-user.target
```
Start and enable Gunicorn:
```bash
sudo systemctl start gunicorn
sudo systemctl enable gunicorn
```
Check the status to ensure it's running:
```bash
sudo systemctl status gunicorn
```
### 11. **Configure Nginx**
Remove the default Nginx config file and create a new one:
```bash
sudo rm /etc/nginx/sites-enabled/default
sudo nano /etc/nginx/sites-available/your_project
```
Paste the following Nginx config:
```nginx
server {
server_name your_domain_or_ip;
location = /favicon.ico { access_log off; log_not_found off; }
location /static/ {
alias /home/almahmud/your-repo/static/;
}
location / {
include proxy_params;
proxy_pass http://unix:/home/almahmud/your-repo/gunicorn.sock;
}
listen 80;
}
```
Create a symlink to enable the site:
```bash
sudo ln -s /etc/nginx/sites-available/your_project /etc/nginx/sites-enabled/
```
Test the Nginx configuration and restart it:
```bash
sudo nginx -t
sudo systemctl restart nginx
```
### 12. **Set Up a Domain (Optional)**
If you have a domain, point the DNS to your DigitalOcean droplet. You can also set up **Let's Encrypt** for SSL certificates.
To install and configure Let's Encrypt for Nginx:
```bash
sudo apt install certbot python3-certbot-nginx
sudo certbot --nginx -d your_domain
```
### 13. **Configure Firewall**
Allow Nginx Full on the firewall:
```bash
sudo ufw allow 'Nginx Full'
sudo ufw enable
```
### 14. **Check Everything**
- Visit your domain or droplet IP to check if the site is live.
- Ensure all services are running:
```bash
sudo systemctl status nginx
sudo systemctl status gunicorn
```
### 15. **Deploy Updates from GitHub**
When you need to update the project from GitHub, you can pull the latest changes:
```bash
git pull origin main
```
After pulling changes, remember to:
- Restart Gunicorn:
```bash
sudo systemctl restart gunicorn
```
- If static files are updated:
```bash
python manage.py collectstatic
sudo systemctl restart nginx
```
---
This covers a full cycle of deployment for your Django project on DigitalOcean using **Nginx**, **Gunicorn**, **MySQL**, and a **private GitHub repository**.